here and there

Sunday, December 14, 2014

Pampushky, doughnuts by any other name!


As I continue to work on the checklist for the traditional Christmas Eve dinner, today I made Pampushky with the help of my husband. Working together on some of these recipes brings back memories of Christmas past and the joy we had and still do preparing these Christmas dishes.  The recipe for these deep fried doughnuts has been written in this blog.

The yeast proofing in warm water and sugar

Adding 1 cup of flour to proofed yeast


Vanilla my son brought from Mexico

Adding Lime juice and rind

Lastly adding flour

Kneading the dough until all flour incorporated 


Heating the oil 


Christmas Preparation, Cabbage Rolls and Pampushky

When I retitled this article from previous, 2009, it shows up as an article from today with no pictures!

Last week when my sister was visiting her son, her daughter in law hosted the second annual Christmas cooking bee at her house. Last year we did peroghies but this year pampushky were made as Keele wanted to learn how to make this Ukrainian delicacy. We also made two types of cabbage roll- buckwheat ones and white rice filled cabbage rolls or Pisni Holubts (Meatless Cabbage Rolls) for Christmas Eve. This year there was a set of half year old twins added to the mix that decided they wanted to be part of the goings on. Jase had fun in his jolly jumper, where as Kate decide she would be happier on the floor and would protest when she reached a block, like right against her brother in the jolly jumper. The two year old spent her time admiring her decorated cookies that she had baked with her grandmother.
The Pampushky recipe that we used was out of the Roblin, Manitoba church cookbook that the ladies from that area had compiled. The dough was first made so that it can proof while the fillings and cabbage were prepared for the cabbage rolls. The rice and the buckwheat for the cabbage rolls had been made previously and chopped onion had been fried until soften and a Carmel color.
Cabbage Rolls
Preparation of Cabbage
In preparing the cabbage, use a sharp paring knife to remove the centre core from the head of the cabbage.
In a large pot bring to boil water and then steam the cabbage until the leaves are tender and you can remove the leaves easily without tearing the leaves. Left the cabbage from the water to be able to remove the leaves more easily and return to the pot when you are unable to take of any more of the leaves and repeat the process to further blanch the cabbage.
Chill the leaves in cold water then drain and dry the cabbage leaves. Trim the thick centre vein from the bottom of the leaf
The smaller leaves can be used as is where as the larger leaves are cut in half.

(As an alternative, you can also microwave the cabbage to soften the leaves: Place the cabbage in a bowl with about 2 tbsp of water, cover, then microwave on 'High' for about 12 minutes, depending on the power of the microwave and size of the cabbage head).

My Mom’s cabbage rolls were the size of my fingers and rolled. ..She placed a small portion of the filling into the center of each cabbage leaf and then rolled the leaf around the filling; where as my sister makes little packages by folding the sides over the filling, then rolling the leaf up tightly

Buckwheat cabbages rolls were not served at my Grandmother’s and Mom’s place so I do not make them; Mom always made meatless cabbage rolls in a tomato sauce all year round, whereas my sister’s husband’s family makes buckwheat cabbage rolls for Christmas Eve,

My cabbage rolls are very plain with only white rice filling and no onions. The cabbage rolls are packed into a buttered casserole and a can of tomato soup is poured over top and dabs of butter. . Arrange the rolls with the seam side down in the cabbage lined baking dish.
The casserole is easy to do in the microwave using the auto sensor. If using the oven to bake the cabbage rolls, you need to line your pan and cover your cabbage rolls with the larger cabbage leaves to prevent burning. Bake at a slow oven 325 degrees for 1 to 2 hours until leaves are tender.


Making Pampushky
After the sweet dough had proofed for an hour, the dough was shaped around cooked and some uncooked prunes. The dough was rolled out ¼ inch thick, cut into small rounds with a cookie cutter or small glass. Place spoonful of filling in center, bring dough up around the filling, make small ball and seal very carefully. Place on floured waxed paper and let doughnuts rise about 1 hour. Leave them uncovered to form a crust on the dough as then they will absorb less fat when fried. Fry in hot oil (400 degrees) about 2 minutes on each side. Doughnuts should turn themselves, but some may not and will have to be turned. When golden brown, drain on a rack and sprinkle with sugar when cool.

Mom filled the pampushky with prunes and poppy seed filling. She also used sauerkraut as filling when she made her own sauerkraut. The sweet and sour flavour of sauerkraut complimented the sweet dough. I was practically fond of these triangle filled goodies. Interesting enough this must have been her recipe as I could not find any recipes using sauerkraut as a filling in the sweet dough.

Mom’s pampushky were triangle shaped and the first time I made these, I also shaped them as triangles but they rose so much that they opened up and looked like cow’s lips... However, they were still delicious even though the poppy seeds spilled out and made a mess of the oil. I always used my wok as it requires less oil then a fryer. Last week we did use the fryer, a wedding gift from my Mom’s sister, Mary. In using the fryer, the temperature is controlled better as with each new batch added to be fried the temperature of the oil in the wok drops. However, we did run into problems while using the fryer outside as by having the dough outside it chilled too much and the pampusky took longer to warm up to cook and therefore absorbed more oil.


The afternoon was a productive one, and we enjoyed homemade curried sweet potato and chick pea soup and toasted Pat’s birthday with prosecco that I had brought. However, my sister felt that we had too many projects going and that the visit was not as good as we had making peroghies last year. I guess next year we will be making perogies.

The sweet dough recipe that I use is from “Traditional Ukrainian Cookery” by S. Stechishin which according to Amazon.ca is available for $260.46.

Ingredients
• 2 tablespoons active dry yeast
• 1/2 cup lukewarm water
• 1 tablespoon sugar
• 2/3 cup milk
• 1/4 cup sweet butter
• 1 teaspoon salt
• 1/3 cup sugar
• 2 whole eggs, beaten
• 3 egg yolks
• 1 teaspoon vanilla
• 1 grated lemon, rind of
• 4-5 cups all-purpose flour, as needed
• prune jam or poppy seed or cherry preserves or apricot jam
• lard (for deep frying) I use canola oil
• extra finely granulated sugar
POPPY SEED FILLING
• 3/4 lb poppy seed
• 1/2 cup unsalted butter
• 1/2 cup honey
• 3 tablespoons light sweet cream
• 1/2 cup chopped raisins
• 1 grated lemon, rind of or 1/2 orange
• 1/2 teaspoon cinnamon (to taste)
Directions
POPPY SEED FILLING: The night before, cover poppy seeds with boiling water and let them soak until the following morning, or wash and parboil for 30 minutes just before grinding. Drain thoroughly and grind in a poppy-seed grinder, or put them through the finest blade of your meat chopper 3 or 4 times. I use a coffee grinder for this. (or buy ground poppy seeds if there is a store near you that prepares them, but be sure they are not rancid.).
Cream butter with honey. When well blended, combine with cream, poppy seeds and remaining filling ingredients. (Some people prefer to omit the butter and to cook the ground poppy seeds with 2 cups milk and the honey until the mixture is thick. The other ingredients are then stirred in.).
FOR THE DOUGHNUTS: Sprinkle yeast into warm water, add 1 tablespoon sugar, cover lightly and set aside in a warm place for 5 to 10 minutes, or until mixture. Scald milk and stir in butter, salt and sugar. When butter melts, cool milk to lukewarm. Combine with beaten eggs and yolks and yeast mixture, vanilla and lemon rind. Gradually beat in enough flour to make a medium firm dough that is still pliable. Knead until smooth and elastic—about 10 minutes. Place dough in a floured bowl, dust with flour and set to rise in a draft free corner until double in bulk—about 1 1/2 hours. Punch dough down and let it rise again until doubled.

Turn dough onto a floured board and roll out to 1/2 inch thickness. Cut into circles with a 3-inch round cookie cutter. Place a teaspoonful of filling on half of the circles. Top with unfilled circles and pinch edges closed, using a little cold water to seal them. Let rise, uncovered, on floured board until doubled in bulk.
Fry a few at a time in lard heated to 375°F Turn once so both sides become golden brown. Allow about 6 minutes for frying each batch. Drain on paper towel and sprinkle with sugar . Makes about 2 dozen doughnuts.


Cheese and Dill Bread

Cheese and Dill Bread

I am fascinated by the bread art in the European Blogs!  My mom used to make Cheese and Dill Rolls which were so delicious. The cottage cheese came from her cows that she milked herself.  I remember when she no longer made her own cheese and the disappointment she felt in making pyrohy, nalisknky or cheese buns.  She felt that the taste of cottage cheese she bought did not match up to her homemade cottage cheese.  How many of us can differentiate this taste? 

My Mom would make her cheese buns and place them into pan, then pull them apart and heat them in a rich cream sauce before serving!  Check out these Cheese Buns that are beautifully made and photographed by a Winnipeg Blogger. 

I had some sweet dough left over from making the mini stuffed doughnuts or Pampushky and decided to make one of the bread designs I have seen in the Bulgarian blogs.  Recently 
I have written out the recipes on recipe cards as I find running off the recipes seemed wasteful!  Most of the European blogs do translate into English, but the only problem was that I could not find the recipe by using the English translation! So I winged the design from memory. 


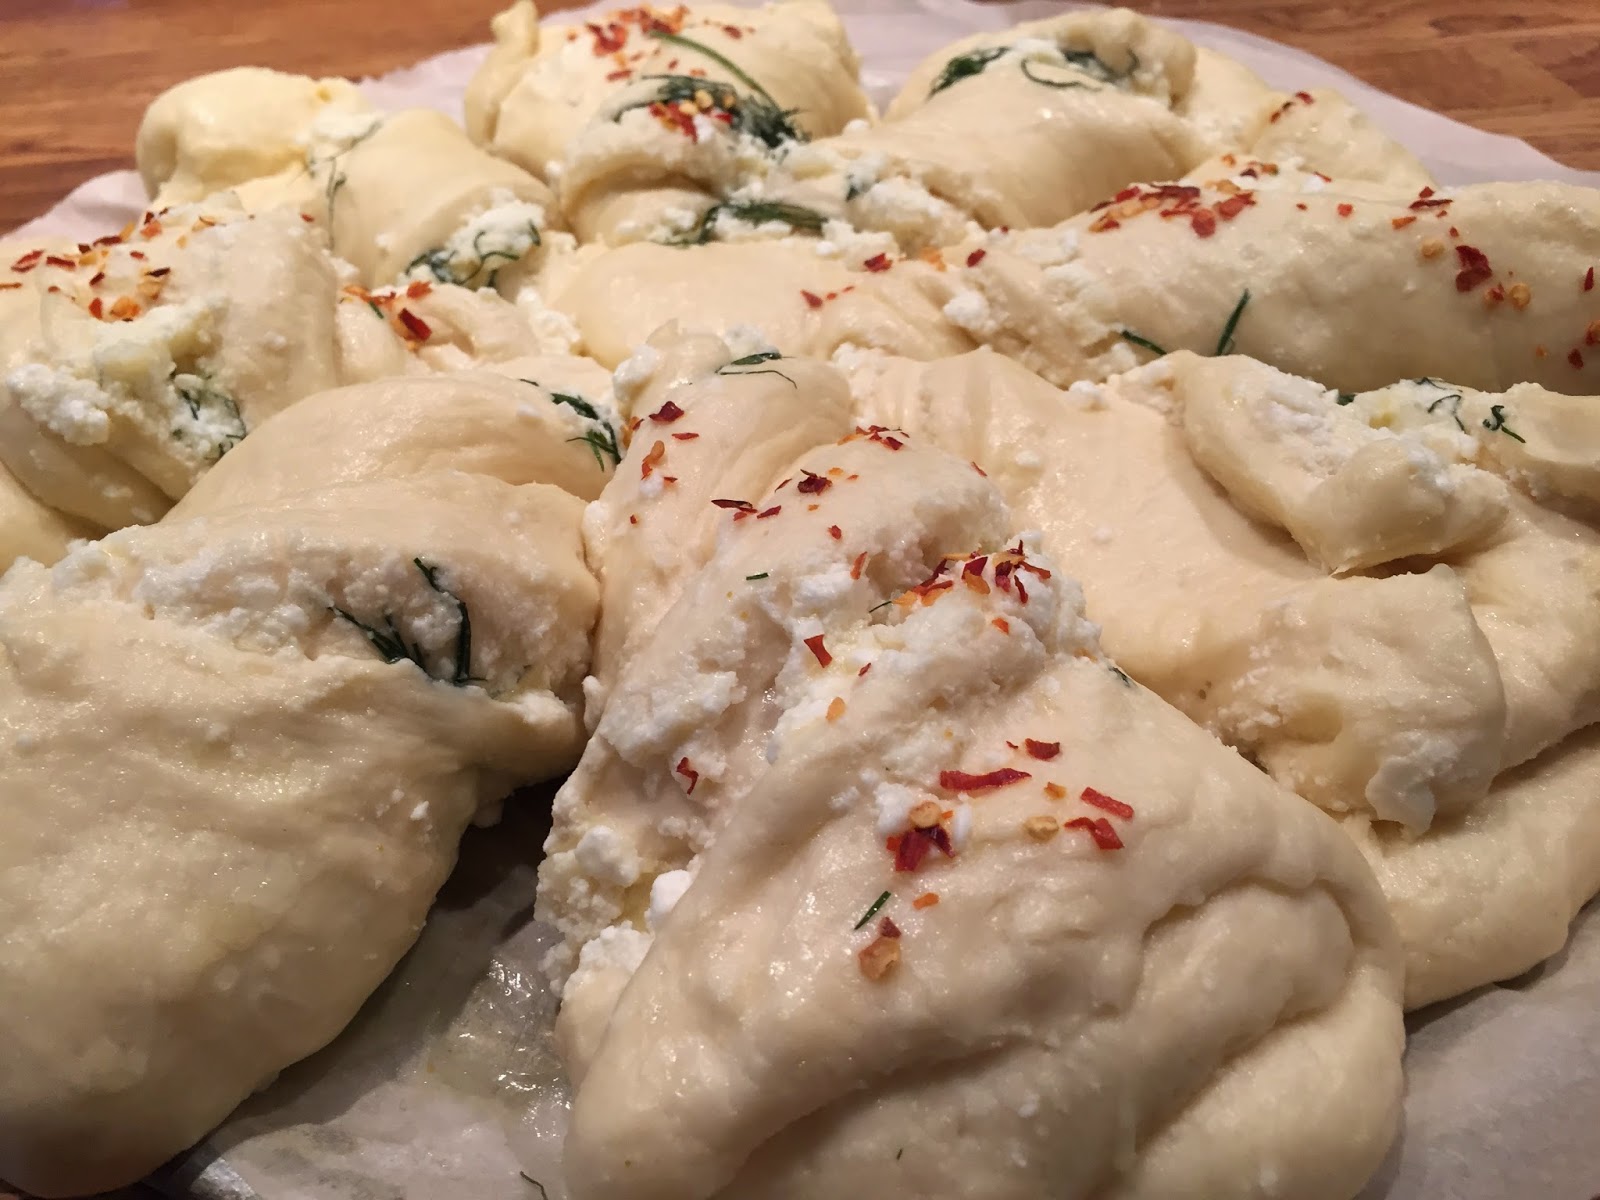
Cottage Cheese filing with fresh Dill 

Using fresh dill from my garden that had been frozen

Twisting the cut portions 

I was not sure about this twisting part!
And certainly learned that you need to assemble this on the baking sheet, I should have taken a picture of all the twisted parts on top of one another as I transferred them on the baking sheet.


Ready for the oven after resting for 20 minutes


And here is the final result!  Ready for Christmas brunch!


Friday, December 12, 2014

Cabbage Rolls, Holopchi


Cabbage Rolls, Holopchi is one of the Traditional dishes for Christmas Eve Dinner


Christmas is fast approaching and I am reducing the work list I have written for the Christmas Eve dinner.   As I prepare for this feast, I also marvel at how skilled my Mom was in preparing and carrying out this festive meal.  I 'learned' the following recipe as a child by observing my mother making holopchi before Christmas and at other times.  She seldom had need of recipes and cooked by look, feel and touch.

I started early in the morning by steaming a head of cabbage on a steaming rack in a large stock pot. The core of the cabbage was first cut out with a sharp knife to make it easier to steam.


The wilted leaves are cut at the core then carefully pulled off the head of cabbage and set aside to cool.


Since my Mom liked her cabbage rolls to be small, the leaf is cut in half.  The heavy centre vein of the  leaf is cut away with a sharp knife.  This dense vein can also be cut down so that the whole leaf can be used for one roll if it is a small leaf.


Rice filling

I use my rice steamer and cook 2 cups of rice.
I added  2 Tbsp to the cooked rice.  You can also add chopped caramelized onions for additional flavour.  My sister does, but I don't.


Place a spoonful of the rice filling on the prepared leaf which has been trimmed on the edges to make a straight line. Roll gently.

Place the roll into a prepared casserole that has been first sprayed or greased and then lined with cabbage leaves or tin foil.


My Mom always lined her roaster pans with cabbage leaves where my Aunt lines the pan with tin foil.  The tin foil needs to be well greased.  Fill the casserole dish with the cabbage rolls.

For the sauce,  pour 1 can of tomato soup over the cabbage rolls and dot with butter on top.


Bake at 325 for 60 to 90 minutes or until the cabbage rolls are soft when pierced with a knife.

When I first started to make cabbage rolls, because I used a smaller sized casserole dish, I found it easier to cook the cabbage rolls to perfection in the microwave on Auto Cook vegetables and then kept the casserole warm in the oven as I prepared the rest of meal for Christmas Eve.


Wednesday, December 10, 2014

Pickled Mushroom, Traditional Christmas Eve Dinner


Christmas Eve dinner in my home is steeped in tradition, religion and wonderful memories of past Christmases.
Pickled Button Mushrooms

Here is one of the dishes  I will be serving as an appetizer after the Kutia, the wheat dish and a meatless soup. The soup my Mom served was usually Cream of Wild Mushroom.  My grandmother on the other hand always served Pisnyy Borscht or Lenten Borscht with tiny dumplings called "Vushka" or small ears.

The supper my grandmother prepared was strictly vegetarian, no meat or dairy products, whereas in my mom's time this meal was vegetarian without meat, but dairy was allowed.  Yes, I know there are those that believe that it should still be dairy less.  However, the beauty of this meal is the tradition and  religious significance around dishes that are served after that first star shows up in the sky on Christmas Eve.  I have fond memories of all my grandparents' children and their family being present for this very special meal.


Pickled Mushrooms

Pickled Mushrooms is a very easy dish to prepare and enjoyed by everyone.  The recipe follows the Traditional Ukrainian Cookery by Savella Stechishin but I usually use the canned whole mushrooms in place of the fresh mushroom.

3 cans Whole Mushroom
1/2 -1 onion, sliced
2/3 white vinegar, this year I used Cider vinegar
2/3 cup water
1 T peppercorns
1 bay leave
1 tsp sugar, I left out the salt as the canned mushroom are salty
1 T of oil
I also added 1 Tsp  mustard seeds and 1 dried apache hot pepper.


Mushrooms with chopped onions

Fill a clean jar with the drained mushrooms and chopped onions.  Combine the rest of ingredients except oil and bring to a boil, simmer for 5 to 10 minutes.  Pour over the mushrooms and top with the oil.  Marinated for at least 12 hours before serving. Keep refrigerate!

Last year, I tasted pickled mushroom, where my friend cooked fresh mushrooms, but she peeled the skin off the mushroom and added 1 tsp of Chicken soup bouillon to liquid.  These mushrooms looked and tasted very different.

Monday, December 8, 2014

Prune, 2014 cookbook of the year,


There is a lot of hip over the new Cookbook "Prune" by the renowned New York chef Gabrielle Hamilton!  
Sounds like her book is back to the basics or key ingredients.  Not unlike all those untitled recipes written on envelopes, scraps of paper with little or no method by my Mom!  These recipes were in her collection of recipes.  I was able to title some of the recipes as I recognized them or with the help of google by listing the key ingredients! Some still are nameless!

The section on Garbage would have my Mom laughing!  Nothing was wasted in her cooking! Things like fresh blood, brains and inners that she did not use were given to a neighbour. I remember a bucket of fresh blood being picked up by a neighbour to make Blood Sausage with great delight.  

While visiting my husband's family,  I remember salvaging the meaty chicken breast bones as my sister in law was about to throw them away.  As I proudly served a chunky chicken vegetable soup (yes chicken chunks from the bones) only to have it referred to as "Garbage Soup"!  Talk about being deflated! Obviously I still am!

So this part of the article especially resonated with me!

AGGIE WROBEL FROM THE GLOBE AND MAIL WRITES
My favourite section of the book is the one I talked about at the top: Garbage. What I love, besides the granola-crunchy mindset of saving every last scrap, is Hamilton’s bossy tone. In one recipe for Sardine Spines, she writes, “*Do not sell these* These are just a cook’s treat and to be used as a special wax for good friends and the right people. Don’t waste it on anyone who won’t get it.” The latter could really be the tagline for the entire book.


I also read with great interest an article on Diana Kennedy awhile back,

That a pig’s ear today may be considered trash is part of what bothers Ms. Kennedy. She is antiwasteful — of plastic bags, animal fat, electricity, water, wild herbs, the power of the sun — and is fond of quoting the speech she gave last summer at MAD Food Camp in Copenhagen. “If you invite me into your kitchen, don’t think the first thing I’m going to look at is your food,” she recited. “I’m going to look at your garbage.”

http://munchies.vice.com/articles/youre-eating-fake-tortillas-and-diana-kennedy-is-pissed-about-it

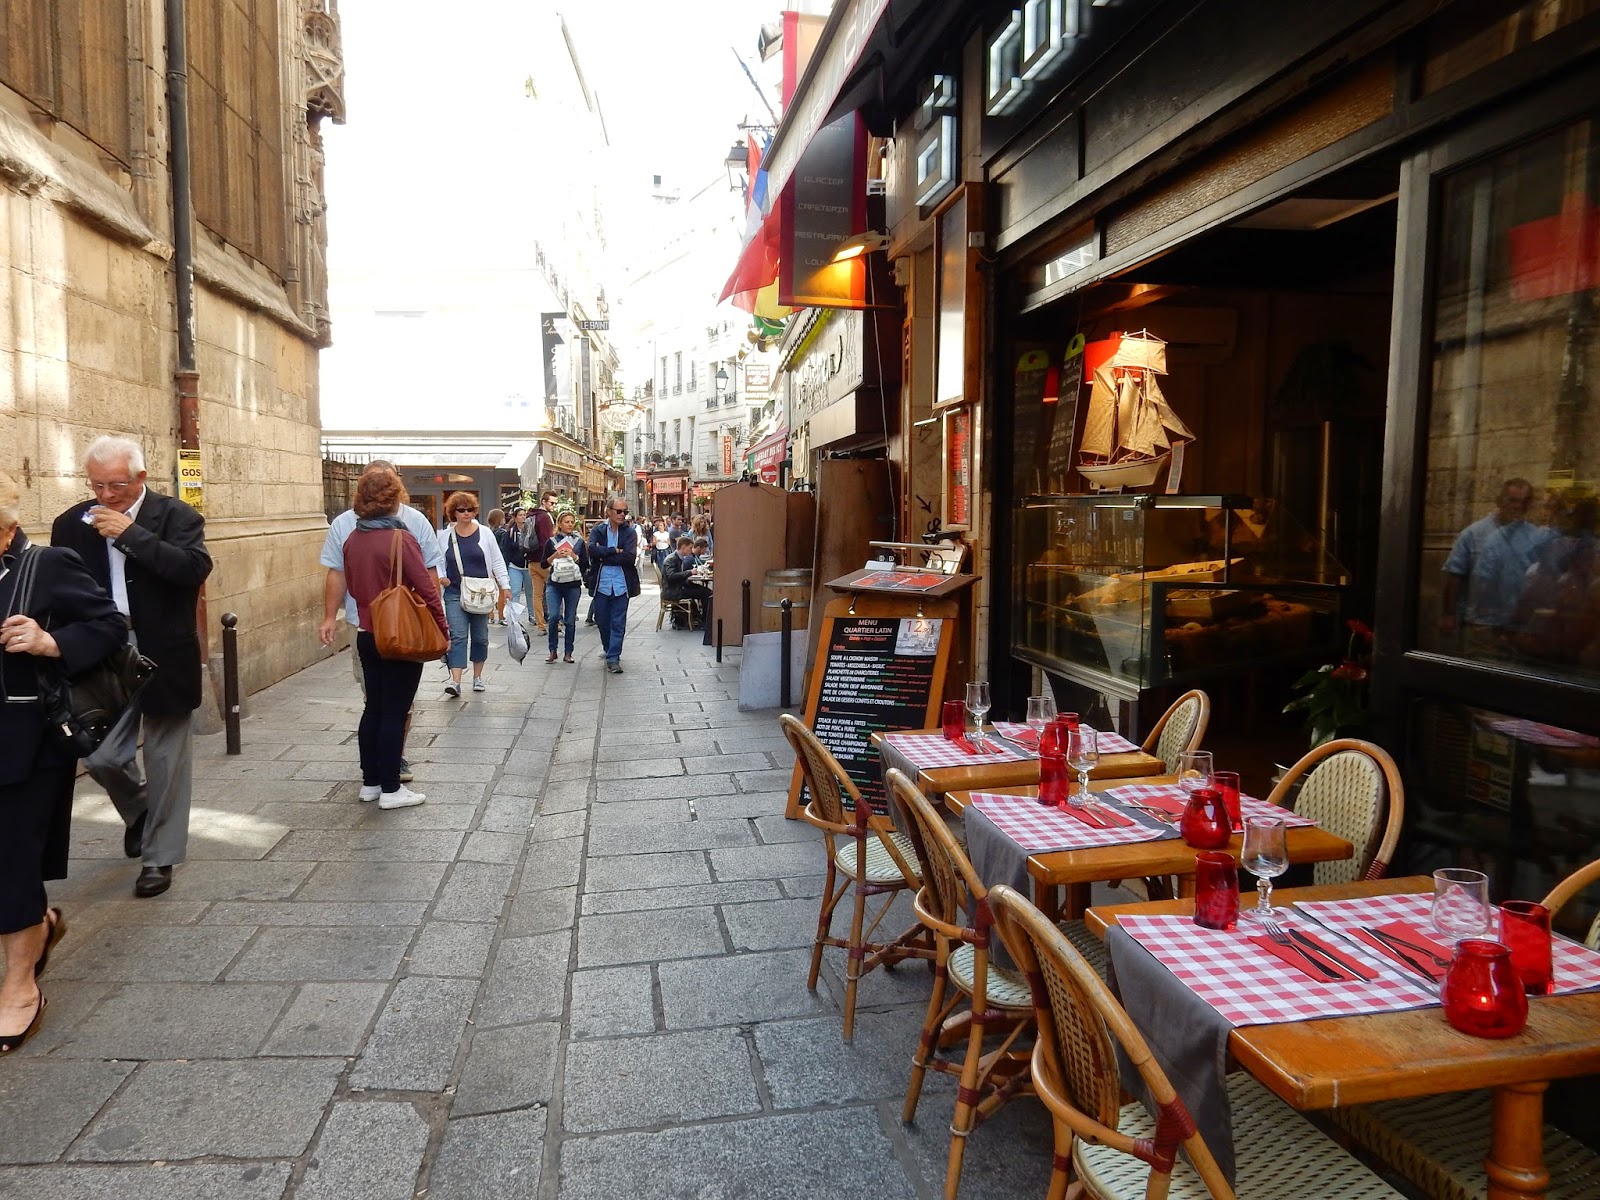
Paris. Latin Quarter